Getting my X1000 quieter & cooler !
Been a while since I started a thread over at amigans/ amigaworld.net
over concerns of CPU temp and noisy CPU fan that came standard with my X1000 but luckily mainly due to a new great custom solution for our X1K's from
Marcus Computer called MagmaBreath my problems have been solved :-)
The installation is clear and straight forward as noted below. You'll need 45 minutes, basic tools and a clear workspace:
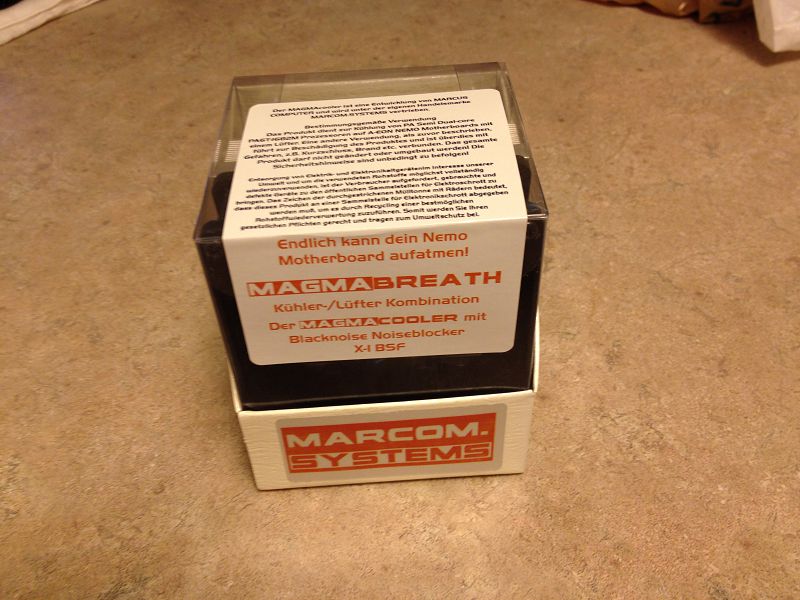
The payment and delivery from Marcus Computer was pain free and the CPU heatsink and fan came safely bundled in a well protected package.
View of package & contenets when open
Case panel off and view of Nemo's top face (since I had the case open already lol my old Radeon HD 6750 was removed so I can install a newer Radeon HD7750 single slot card to enjoy the new Warp3D driver update BUT that's another post for another day :-)
To start I removed the fan above the heatsink with a small philips screw driver.
4 screws fully loosened & power connector disconnected from Nemo (aka motherboard)
Fan removed and view of top of heatsink
Now time to remove underside case cover to access plastic screws securing heatsink to CPU
close up view
After almost scratching Nemo with a longer flat head screw driver I dug up a smaller screw driver which gave me much more control and precision while holding the CPU steady on the top side with my right hand and remove the plastic screws with my left hand.
The small plastic screws are quite slippery so attention is needed to slowly apply pressure without the screw driver head slipping and possibly damaging Nemo (aka DON'T RUSH lol)
OK all screws removed with no surprises and heatsink easily removed with my right hand making sure to not drop it onto Nemo.
Voila the top side of the infamous PA6T ! The heatsink came off clean with no residue at all from the thermal paste/sticker which left me quite surprised based on my mnay other experiences with thermal pads/tapes etc.
although pratctically like new I wipe clean the top of the PA6T with the included alcohol wipe to make sure all is prestine for the new heatsink application (note my anti static wrist strap)
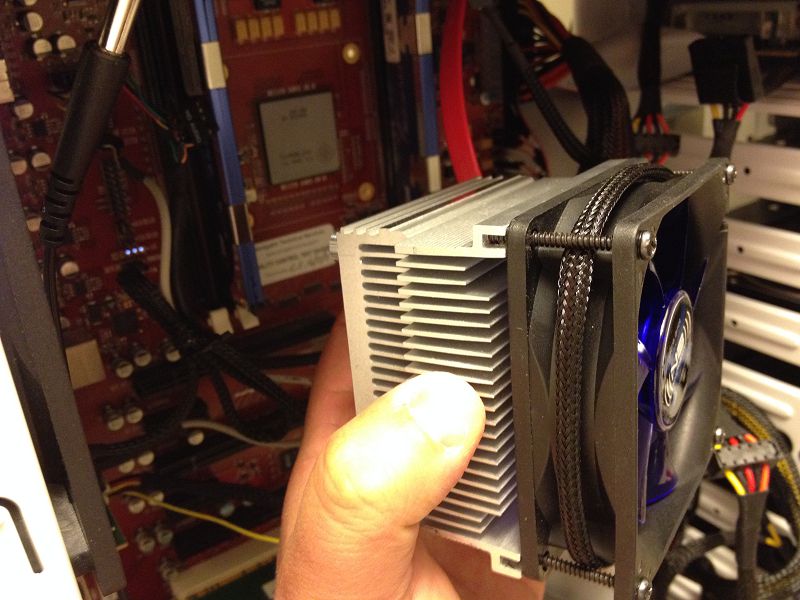
As per the instructions on the Marcus Computer website you have a choice of which orientation you would like to mount the new heatsink/fan combo. I chose to install it with the heatsink fins facing towards the two separate 2GB ram modules for maximum cooling on CPU & ram sticks.
don't forget to remove the protective plastic over the thermal pad!
TRICKY PART! with my right hand lining up the MagmaBreath and my left hand lining up one of the included screws (don't forget to add the enclosed lock tight washer!) I carefully line up/insert the first screw and immediately the second one diagaonally opposite from the first.
It goes without saying that we're dealing with very delicate substrates SO be gentle with the torque on the small philips screw heads and don't exceed the 0.82N.m torque as per the instructions.
Tricky part over the remaining 2 screws go in efforelessly & voila you can plug in the power connector to the fan and enjoy the view from the top side :-)
Conclusion:
I'm very happy with the reduction in sound from the stock heatsink/fan combo as it's quite the difference and for the effectiveness of MagmaBreath the numbers from X1Temp docky speak for themselves!
Prior to the upgrade after 48 hours of constant use numbers were:
CPU- 47 deg.C
Core1-52
Core2-50
with MagmaBreath installed after 48 hrs I was pleased to see a significant decrease:
CPU- 38 deg.C
Core1-43
Core2-40